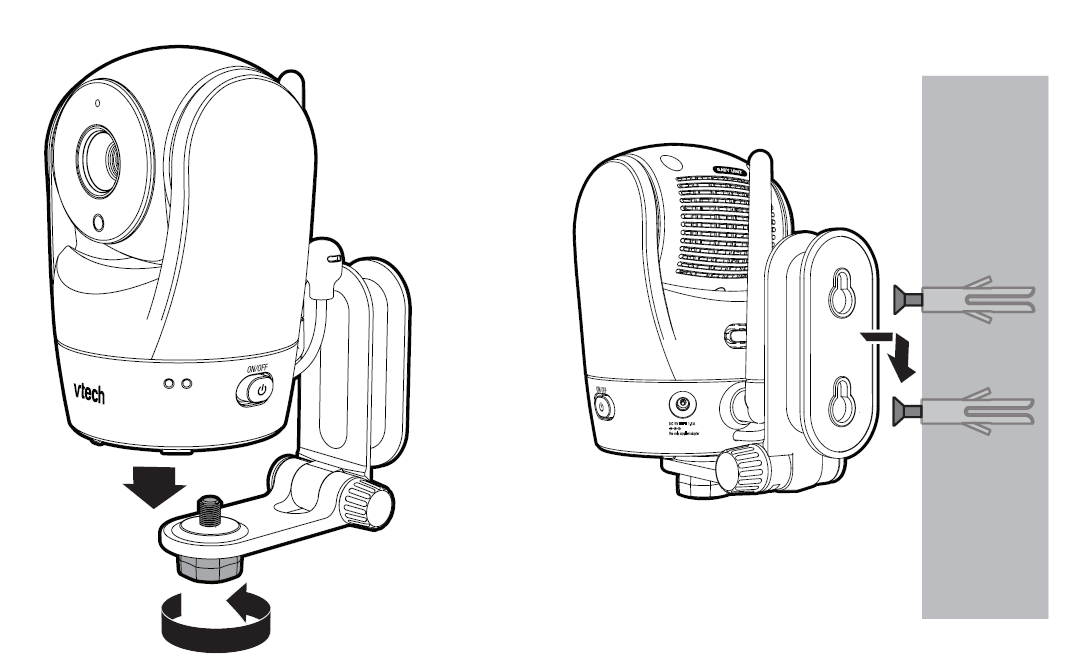
- Place the camera unit on the wall mount bracket. Tighten the screw into the threaded socket at the bottom to secure the camera unit.

|
OR |
- Place the camera unit on the wall mount bracket. Tighten the screw into the threaded socket at the bottom to secure the camera unit. Align the holes on the wall mount bracket with the screws on the wall, and slide the wall mount bracket down until it locks into place.
 |